In an age where our personal devices are interconnected with each other’s devices, managing audio outputs has become an essential skill. Whether you are listening to music, watching a movie, or attending a virtual meeting, having control over your audio outputs is crucial for a seamless experience. With the release of Windows 11, Microsoft has introduced new features and options for managing audio outputs.
Today, in this guide, I will teach you three easy methods to change audio output in Windows 11.
3 Ways To Change Audio Output In Windows 11
1). Quick Settings Panel
Windows 11’s sound output device can be easily changed using the fast settings panel. If you’re on Windows 11, here’s the method to switch your audio device.
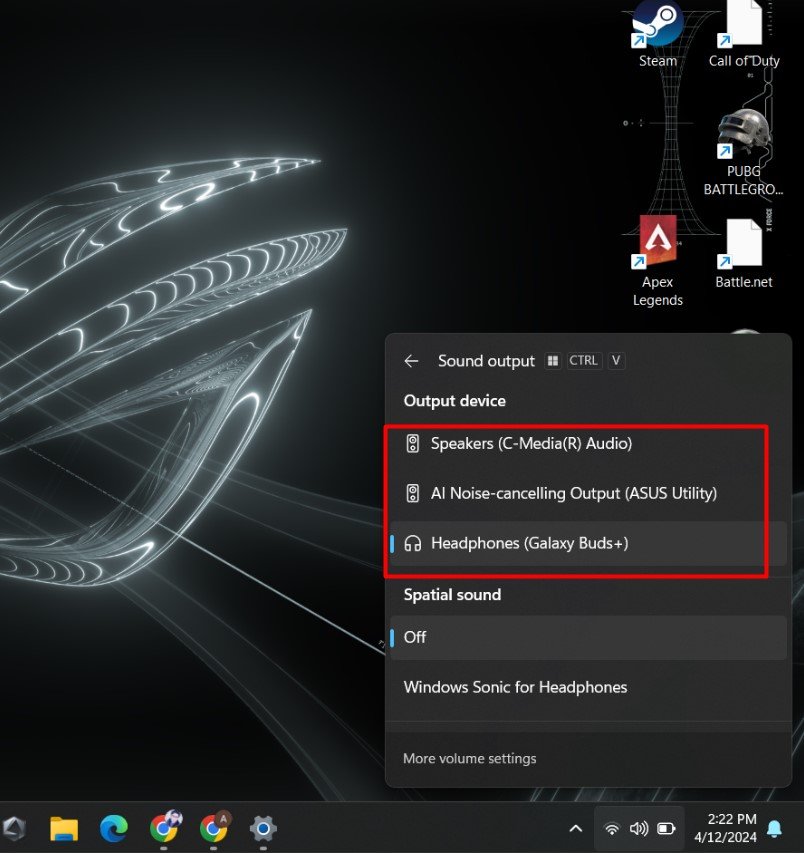
- Right side on the task bar you will see 3 icons of Wifi, Sound and Battery. Right click on the sound icon.
- Then, next to the volume bar, click on the small menu icon “Select a sound output.”
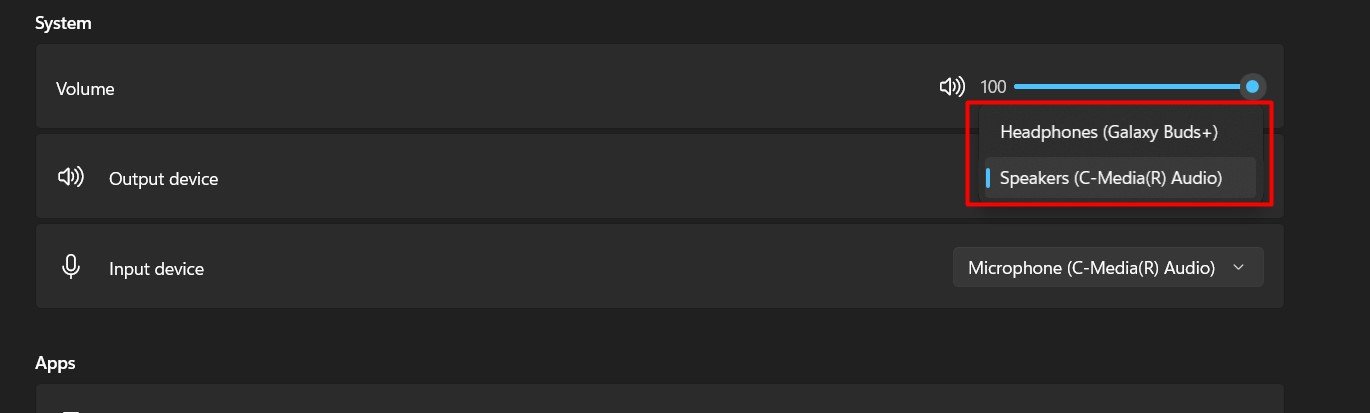
- Then, a small window pops up. In this pop-up, you can see connected devices and select according to your needs.
This method is quick and easy to use, perfect for when you need to change your audio output in a hurry. However, it may not be the most efficient way if you frequently switch between multiple audio devices or have specific settings for each device.
2). Sound Settings
Windows 11 has revamped its sound settings, making it more user-friendly and customizable. To access the sound settings, follow the steps below:
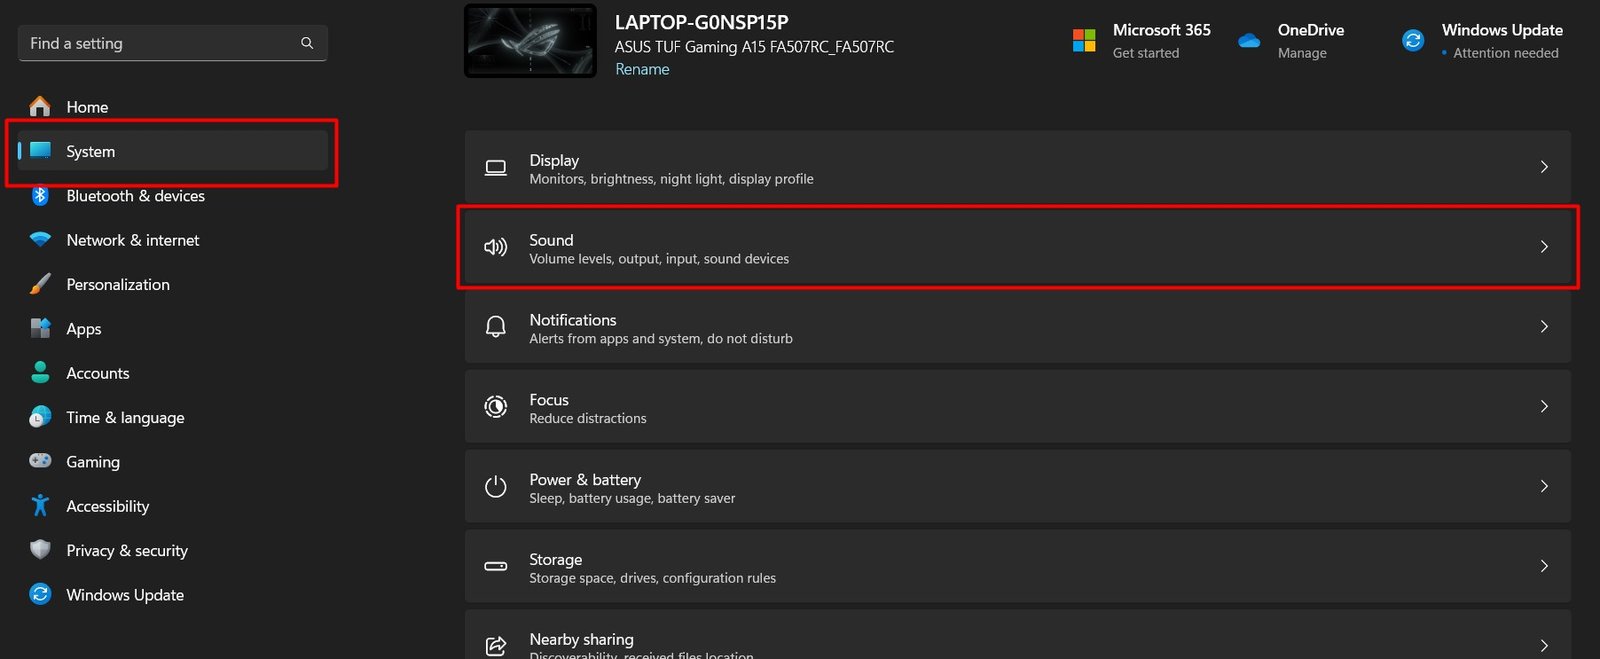
- Click on the window start icon and find your “Settings” option. Then click on settings.
- In the settings window, click on “System”
- In the system settings, click on “Sound.” in the sound section, you can choose where to play sound.


This method is more comprehensive than using the quick settings panel, but it gives you more control over your audio outputs and allows you to customize them according to your needs.
3). Change audio output through “Volume Mixer”
The volume mixer in Windows 11 helps you adjust the loudness of your computer/Laptop input and output devices as well as the volume of individual applications. It can also be used to set up your output device.
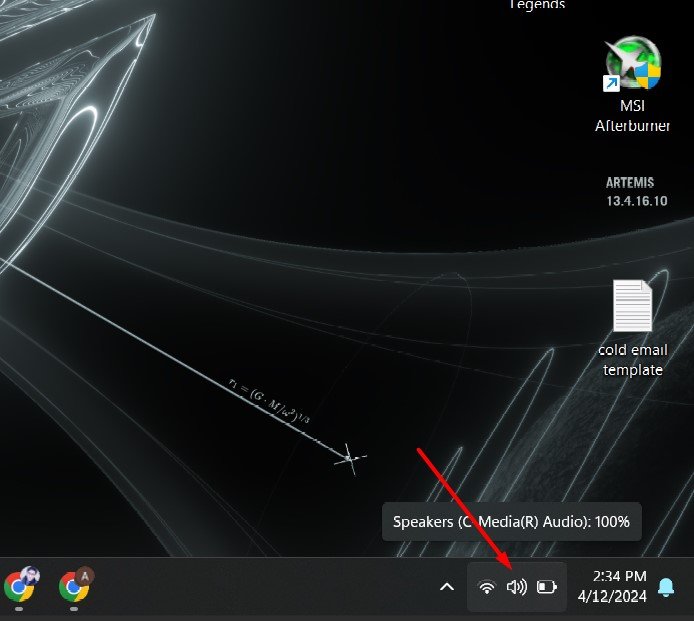
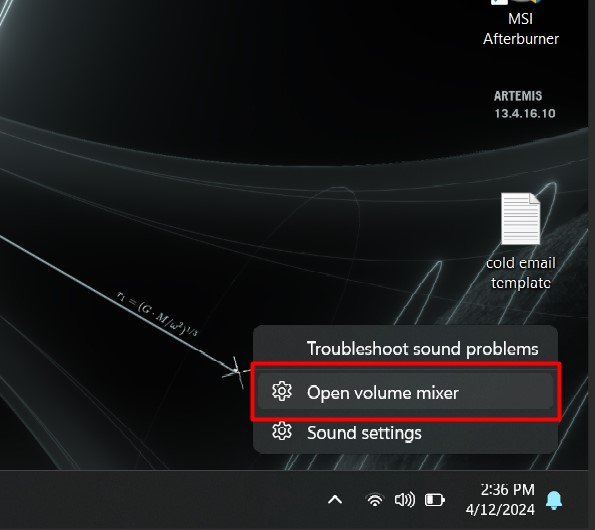
- In the taskbar, right-click on sound and select “Open Volume Mixer”
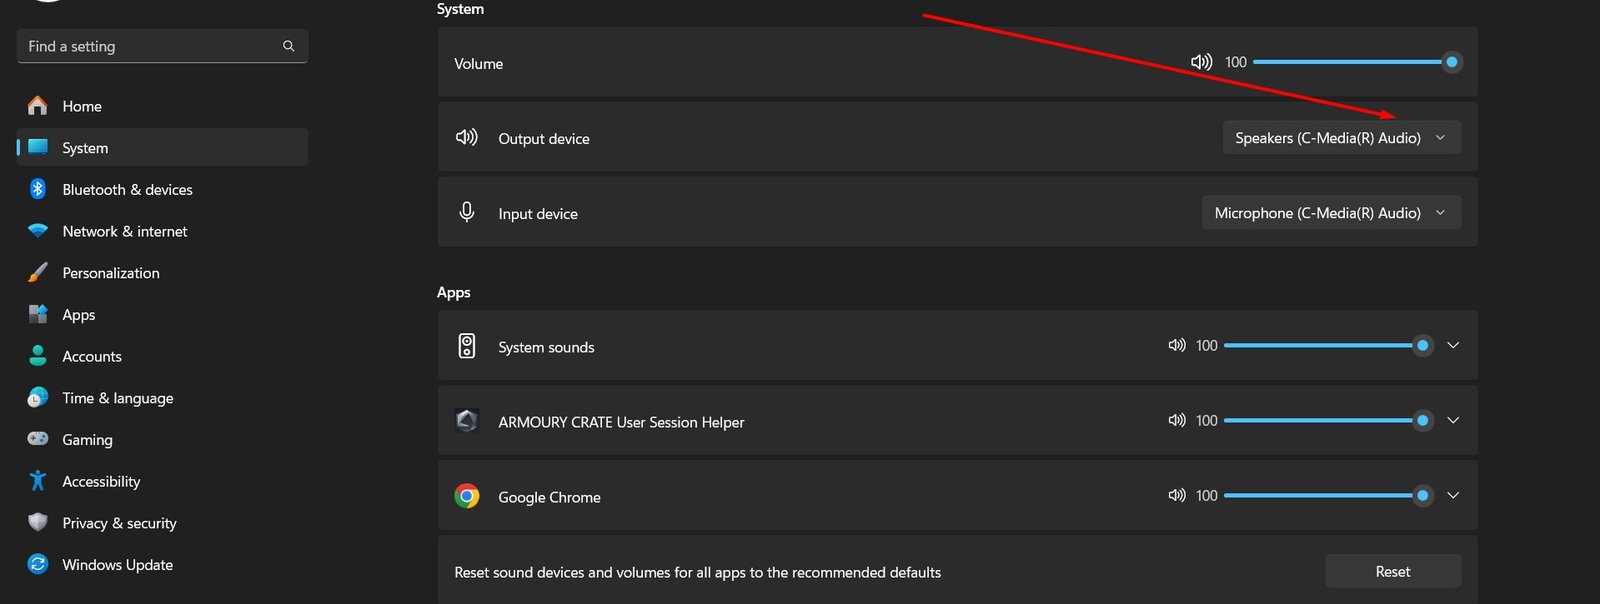
- Then, on the right side of the Output device menu, select your output device.
These are the 3 methods you can use to manage and change audio outputs in Windows 11. With these options, you can easily switch between devices and customize your sound settings for a better audio experience on your computer/Laptop.
Conclusion
Having control over audio outputs is important in today’s interconnected world, and Windows 11 provides multiple options for managing them efficiently. Whether you’re using the quick settings panel for a quick switch or diving into the sound settings for more customization, these methods will help you seamlessly manage your audio outputs on Windows 11. So, next time you’re watching a movie or attending a virtual meeting, make sure to use these methods rather than disconnecting other devices.